Paper Roll Installation
-
Open the printer's top cover.
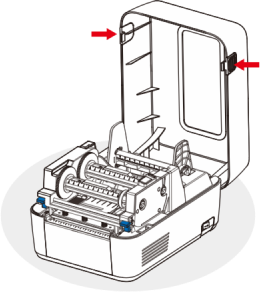
-
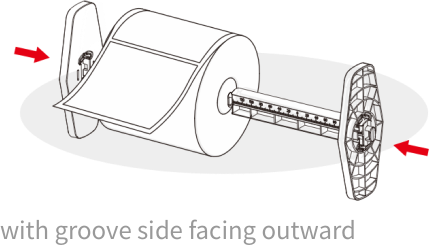
Place the paper roll centered on the label shaft
and secure both ends with label baffles (with
groove side facing outward).
※If the roll core is smaller than 25mm, the label shaft and baffles are not required.
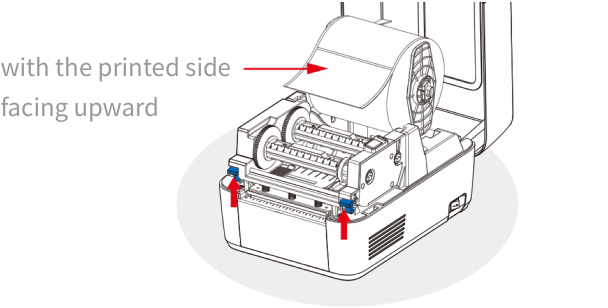
- Load the paper roll into the paper compartment with the printed side facing upward, as shown in the figure.
-
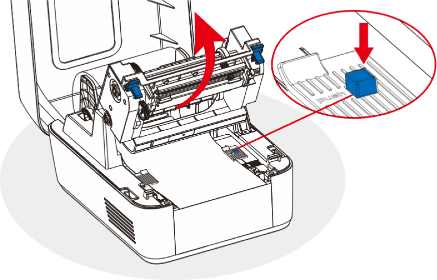
Press the blue buttons at both ends of the print
module to lift it up.
- Pull the front end of the label through the print module and the rubber roller.
-
Press and hold the paper jam release slider and
move it to lock the label in place.
Ribbon Installation
-
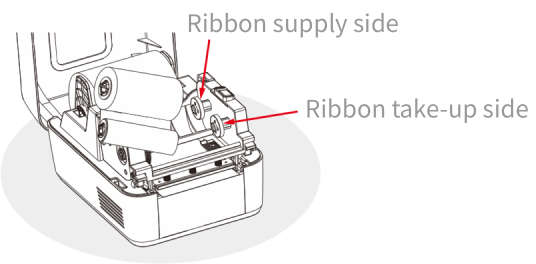
Follow the steps to install the ribbon, and snap
the ribbon into the ribbon supply and take-up
shafts as shown in the figure.
※If the ribbon roll core is a small core (13mm), no ribbon shaft is required. You simply need to snap it into the supply and take-up side.
※Ribbons sold by merchants generally do not come with paper cores. Therefore, it's recommended to keep the empty paper cores for reuse.
※For thermal printing paper, no ribbon installation is necessary, and this step can be skipped.
01The ribbon is placed as shown
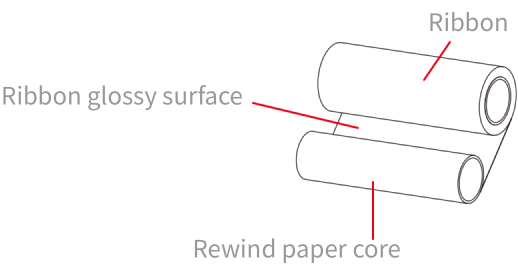
02Insert the ribbon shaft from the left into the ribbon paper core and center the ribbon on the ribbon shaft.

03Snap the ribbon into the supply side.
-
Gently press the lift buttons at both ends of the
print module to raise the print head, then pass
the ribbon take-up core through the print module.
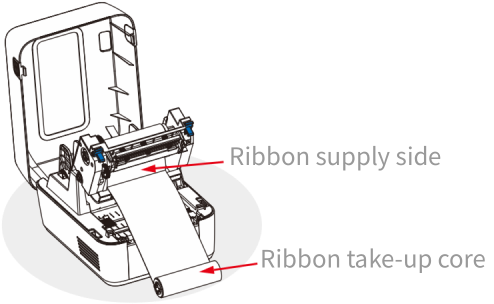
- Snap the ribbon take-up core into the ribbon
take-up side.
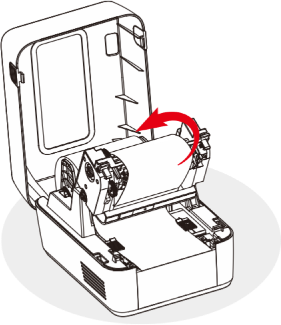
-
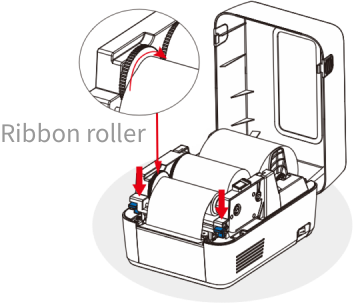
Rotate the ribbon roller clockwise to tighten the
ribbon, press the print module down with both
hands until you hear a click.